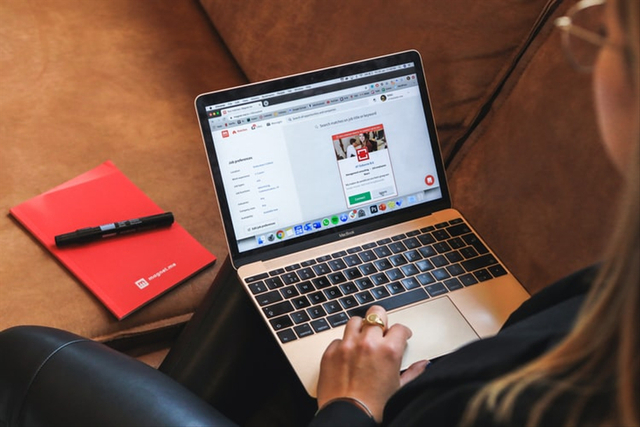
The need for technology is increasing every day. One technology that is often used is a laptop or portable computer. This device is usually used for work or study. In the digital era like today, laptops already come with various sophisticated features. How to record a laptop screen is one of the features that are often used today.
Usually users record the screen on their laptop for several purposes. For example, during a meeting, webinar, or online study or online via Google Meet or Zoom. There are several ways to do this. Check out the following explanation.
How To Record Screen On Laptop Without An Application
To record a laptop screen it can also be done without using an application. This feature is called the Xbox Game Bar. Here are the steps to use it :
- Press the Windows key + G combination at the same time.
- Then you can click the “Capture” icon that appears on the screen of your laptop or computer.
- Then, select the record button option in the shape of a large dot, to start recording the screen.
- And the Xbox Game Bar will start recording the appearance of the laptop you are using. If you want to stop the recording, you can click the stop icon.
- To view the recorded video, open the video folder then select “Folder Captures”.
That’s how to record PC screen easily without the need to use additional applications.
How To Record Screen On Laptop With Application
In addition to using the Xbox Game Bar menu, you can also use the following applications to record laptop screens easily.
1. OBS Studio
The first application is OBS Studio. This application is free and has a simple interface that makes it easy to use. Here are the steps :
- Download or download this application.
- When entering the “Auto Configuration” tab, select “Optimize just for Recording, I Will not be Streaming”. By selecting this option, the video quality when recording is maximized.
- Continue by clicking “Next”.
- Then select the resolution and FPS according to your needs.
- Click “Next” again and click “Apply”.
- Next, click the “+” sign in the application.
- Next, select “Display Capture”.
- Write the name as you wish, then click “OK”.
- OBS Studio will automatically record your laptop screen.
- In this application you can use the disable preview feature so that the recording is not interrupted.
- To record, click “Start Recording” at the bottom of the control column.
- To stop recording, select “Stop Recording”.
- The recordings using this laptop screen recording method will be stored in the Videos folder.
2. VLC App
VLC is also able to record the screen display of your laptop or personal computer (PC). The method is also very easy. Here are the steps :
- Install this app.
- Select the “Media” menu.
- Then select “Open Capture Device”.
- Next, search for “Capture Mode” and select “Desktop”.
- Select the down arrow which is usually next to the play button.
- Continue with “Convert”.
- You can set the destination of the document.
- Next click “Start” to start recording.
- When the screen recording process is complete, select “Stop Recording”.
3. Screenpresso App
How to record the screen on the next laptop using the Screenpresso application. The advantage of this application is that it can record audio and video at the same time. This application is also not heavy, so it can be installed on laptops with various specifications.
There is a “Quick Access” feature that you can use to view the recording. You can also use this app to share your recordings on social media. How to record screen on laptop using this application, as follows :
- Download and install the Screenpresso application first.
- After the application is installed, open this application.
- Then select “Capture” at the bottom.
- Then click “Record Video” and your laptop or PC screen will be recorded automatically.
Although it is easy and has several advantages, it turns out that this application also still has drawbacks. Screenpresso can only record a maximum of three minutes for the free version. In addition, the watermark cannot be removed if you use the free version. To really be able to use all the features for free, you have to subscribe to this app.
4. BB Flashback
The next way to record a laptop screen is to use the BB Flashback application. There are two versions of this application, namely the express and professional versions. The difference between the two, the express version can be used for free, while the professional requires you to pay a subscription fee. To use this application, do the following :
- Install this application first, then open BB Flashback.
- After that select “Record Your Screen”.
- To make a recording there are several options that you can choose. If you want to record the entire screen, select “Record and select Full Screen”. If you want to record only part of the screen, select “Windows”, then “Record”. Meanwhile, to record in a certain area, select “Region” in the “Record” section.
- This application can also be used to record a laptop webcam screen, so you can select “Record Webcam”.
- Click the red “Recording” icon to start recording.
- When finished, select the “Button Stop” option or use the key combination Shift + Ctrl + S.
- Then click “Save”, to save the recorded video.

