
There are several steps you must follow to create a database with XAMPP. Here are the five steps:
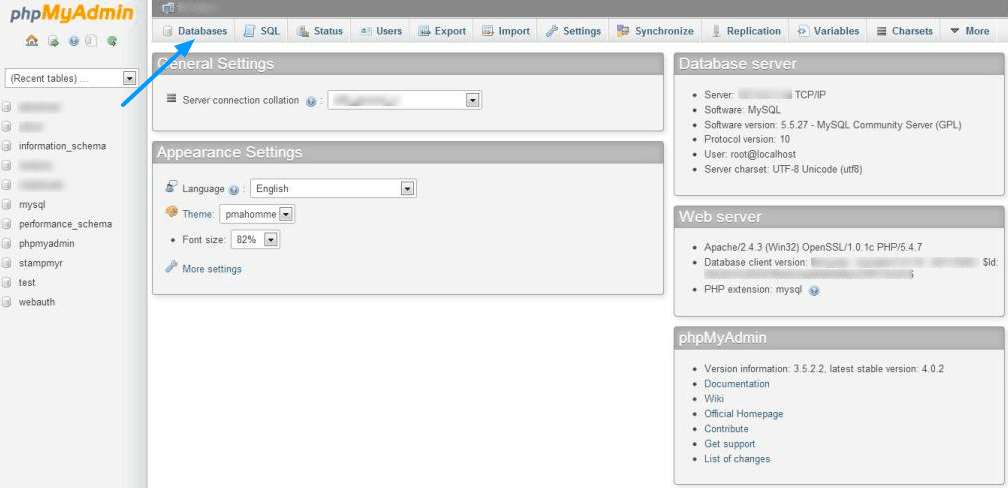
- The first thing you should do is login to phpmyadmin XAMPP. Please type in your browser the following address: localhost/phpmyadmin. Then your screen will display the PHPMyAdmin dashboard.
- Then try clicking the “Database” menu. If you have, you try to enter the name of the database you want (free). After that, you click “Create” in the lower right corner in the Database menu box earlier. Take note of the name of the database you entered, because it will be used again in the future.
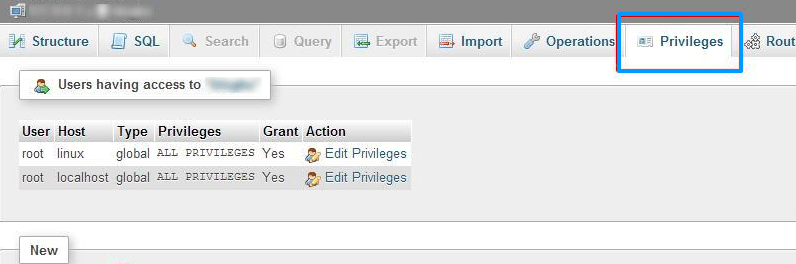
- The next step is to add a user name for the database that you previously created (step number 2). Go to that database (you can find it on the left side of the screen). After you log in, look at the menu and click “Privileges”, then click “Add user” as shown in the following image.
- After you click “Add User” earlier, a form to create a new user will appear on the screen. Try to fill it with another name (free) and memorize the name again for later use. If so, don’t forget to fill in the “Host” column.
For the host, please use the “use text field” then fill in the word “localhost”. Then enter the password twice (fill in the same password). Finally, you can go to the bottom of the box, click on the “grant all privileges on database” option.
- Do not stop there, please scroll / scroll to the bottom. You can see that there is a “Global Privileges” option. This option is useful for giving access rights to the user in managing all existing databases. So, just click “Check All”. Then, you click “Add User” again. At this point, you have successfully created a database.
Later at the end of the article, please add this paragraph:
The need for digital IT is needed in daily activities, Bead IT Consultant is the right choice as your partner, visit our website by clicking this link: www.beadgroup.com